
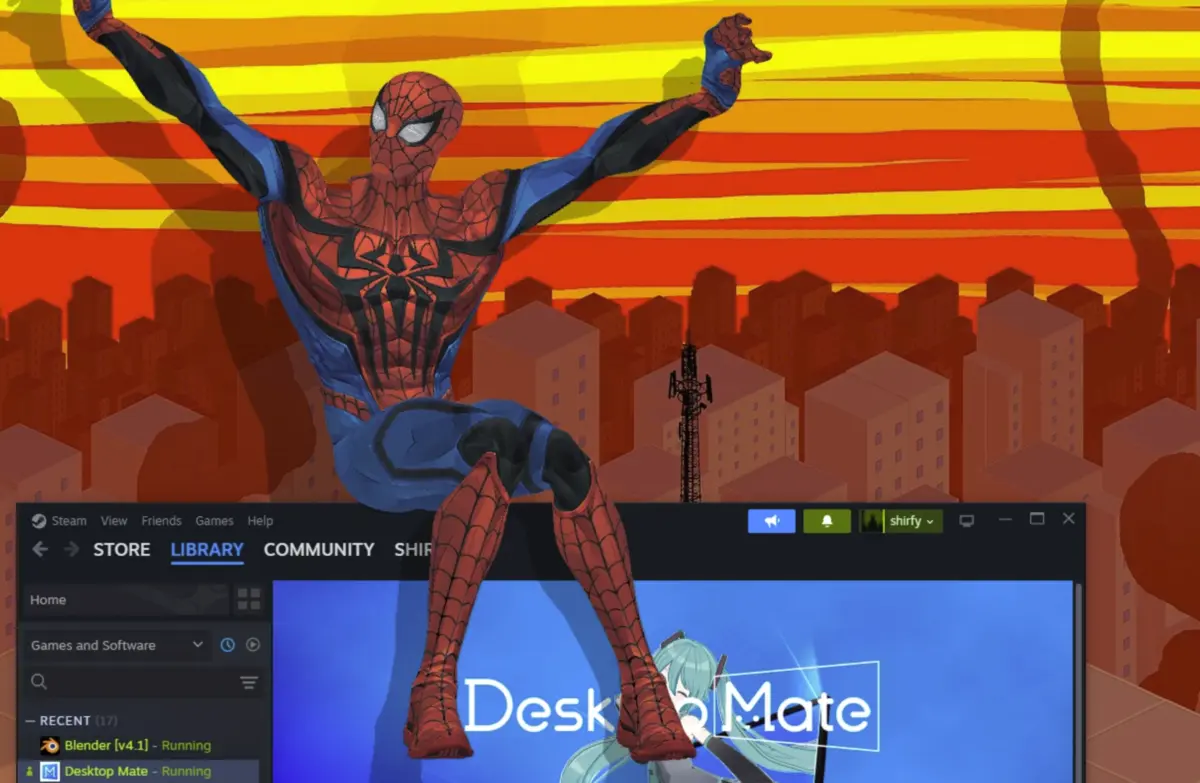
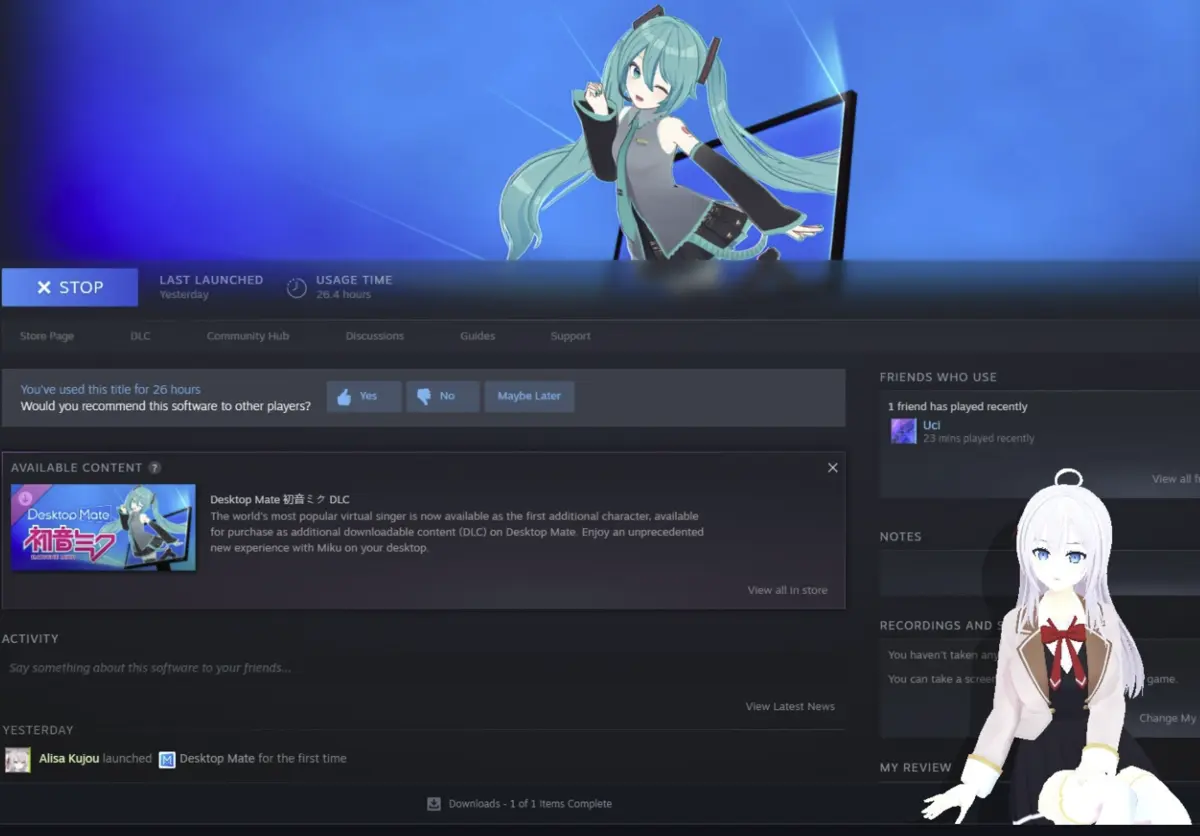
Want a specific model as your desktop buddy but can’t find it anywhere as a .vrm file? This guide will teach you how to create your very own .vrm file to use with Desktop Mate!
Introduction of Desktop Mate Custom Model
While VRoid Hub is the most popular platform to find .vrm files, it may not always have the exact model you want. This guide focuses solely on creating VRMs for Desktop Mate and does not cover modding Desktop Mate itself—there are other tutorials for that.
Requirements of Desktop Mate Custom Model
Here’s what you’ll need to get started:
- Unity (preferably a 2022 version or newer).
- UniVRM (a Unity plugin for exporting VRMs).
- Optional: VRChat shader plugins (for better compatibility).
- A 3D model to convert into a VRM (e.g., from VRModels or other sources).
- A stable mind (because this process might take some trial and error).
Download Links
Step-by-Step Guide to make Desktop Mate Custom Model
Step 1: Preparing Unity
- Download and install Unity Hub.
- Install a Unity 2022 version (or newer) through Unity Hub.
- Open Unity Hub and create a new project using the 3D Built-In Render Pipeline template.
- Name your project and click Create Project.
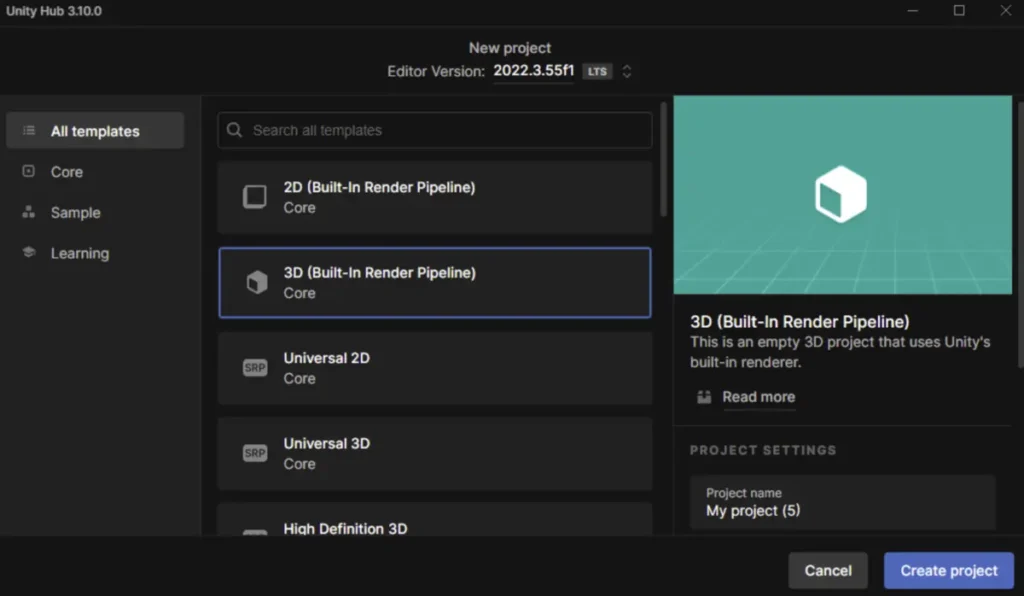
- Note: The project may take a while to load the first time.
Step 2: Importing UniVRM
- Download the UniVRM
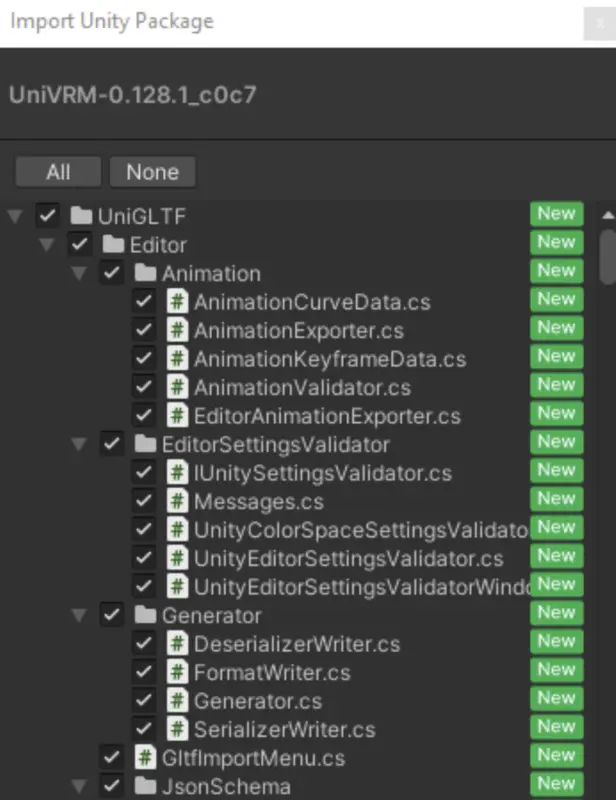
.unitypackagefile. - Open your Unity project and double-click the UniVRM
.unitypackage. - When the import window appears, click Import.
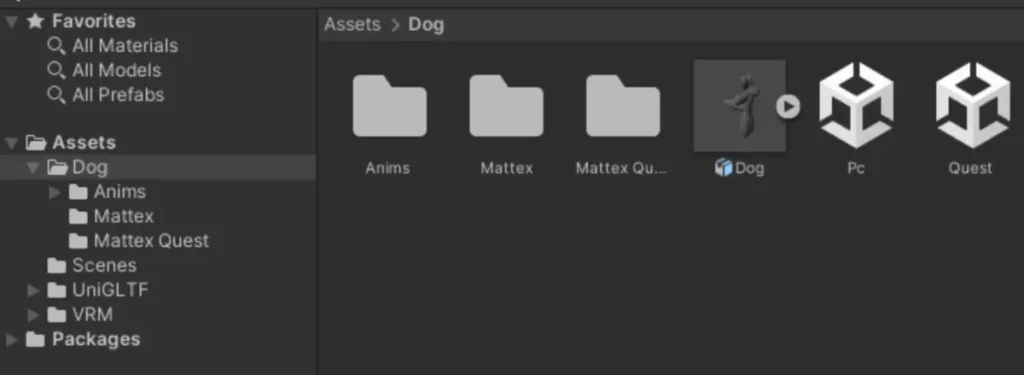
- After importing, you’ll see a VRM folder in the Assets tab (bottom-left corner).
- A new menu called VRM0 will also appear in the Unity window’s top bar.
Step 3: Importing Your Model
- Download your desired model (e.g., from VRModels).
- If the model is a
.unitypackage, double-click it to import.
- For
.fbxor.blendfiles, search YouTube for tutorials on importing these formats into Unity.
- After importing, locate your model in the Assets tab.
- Look for a scene or prefab in the model’s folder to load it into Unity.
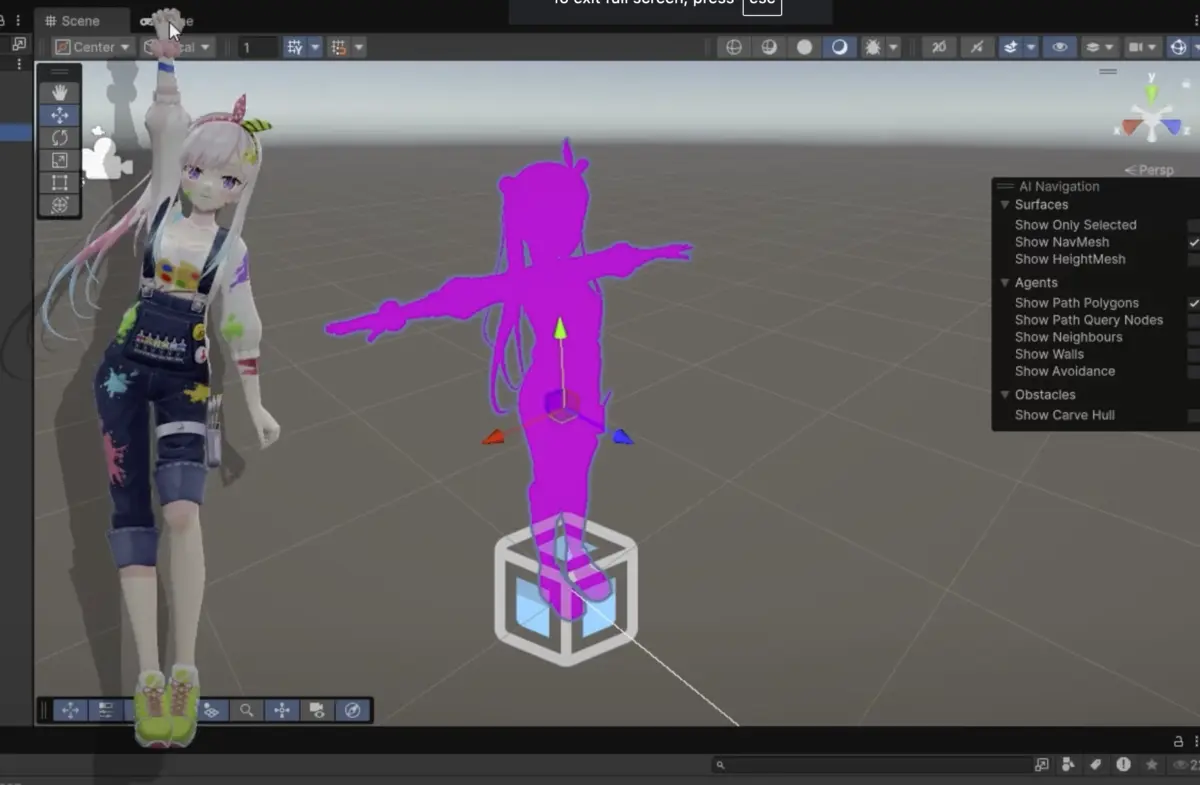
Step 4: Fixing Import Problems
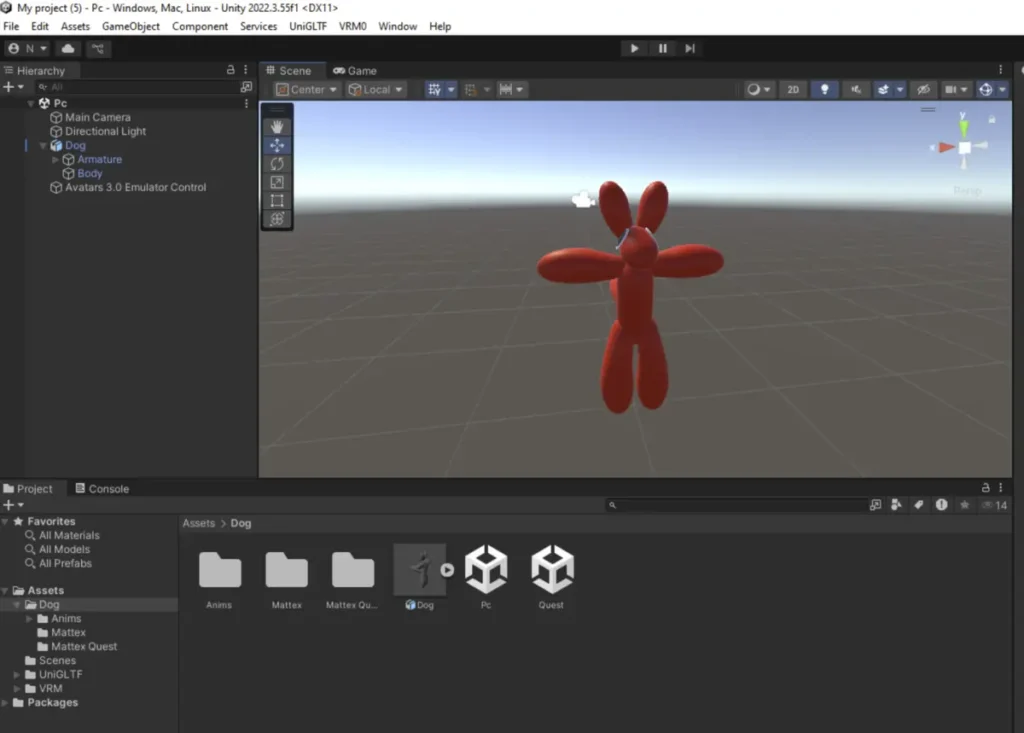
Problem: Model is Pink or Missing Textures
- Select the affected model part in the Scene view.
- In the Inspector tab, look for the material’s shader (e.g., “Hidden/InternalErrorShader”).
- Change the shader to Standard (or another compatible shader).
- Repeat for all pink materials.
Alternate Fix
- Try importing your model into a new project using Universal Render Pipeline or High Definition Render Pipeline.
Step 5: Exporting as VRM
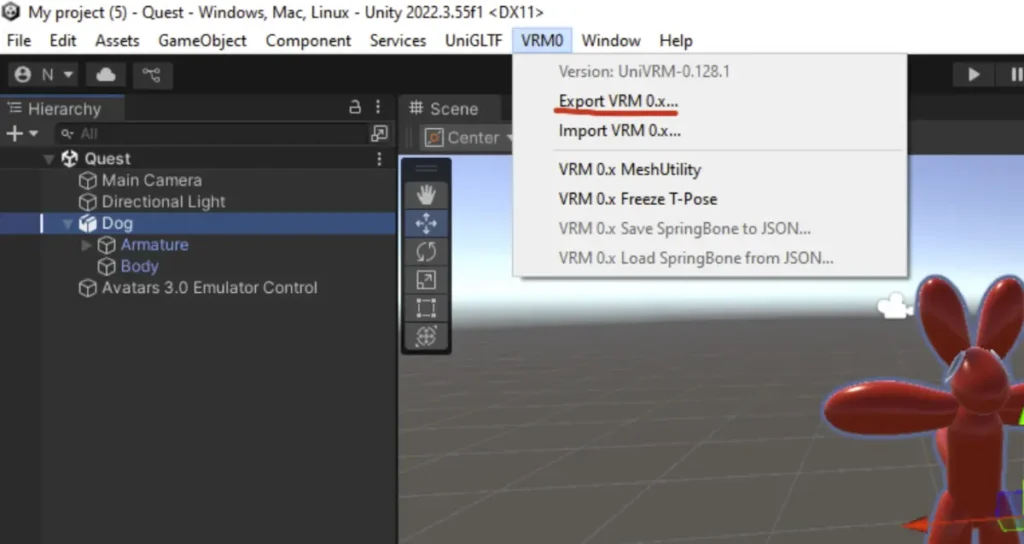
- Ensure the model’s position and rotation are set to 0, 0, 0 in the Inspector.
- Select your model and click VRM0 > Export VRM 0.x from the top menu.
- Fill out the export details:
- Title: Any name you like.
- Version: You can use “VRM 0.0”.
- Author: Any name (optional).
- If any warnings appear, click Make T-Pose to fix pose-related issues.
- Click Export and save the file to your desired location.
Step 6: Troubleshooting Export Problems

Problem: Materials Have Fewer Sub-Meshes
- Select the affected model part in the Inspector.
- Add a new material to the part using the + button under the materials list.
- Repeat until the error clears.
Problem: Materials Have More Sub-Meshes
- Remove unnecessary materials from the affected part in the Inspector.
- Test the export again.
General Fixes
- Delete unused parts of the model (e.g., extra clothing, special effects).
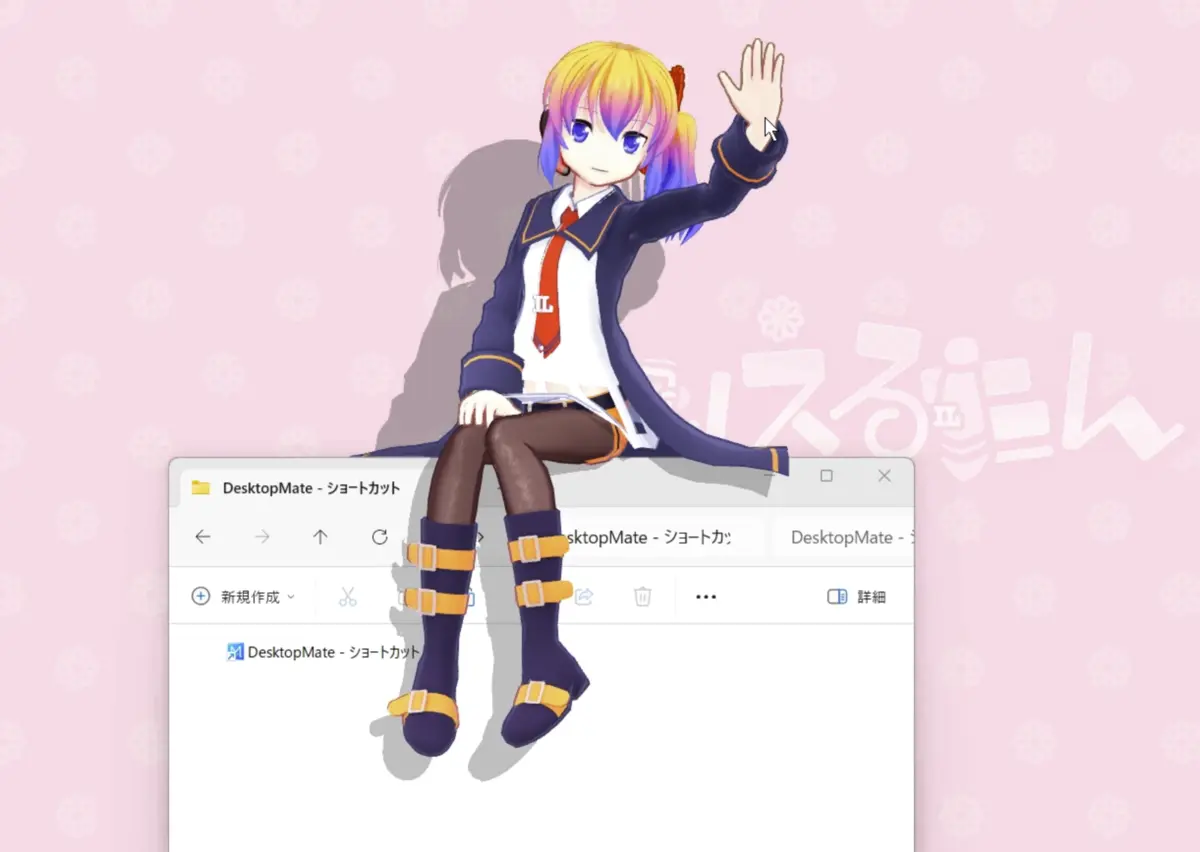
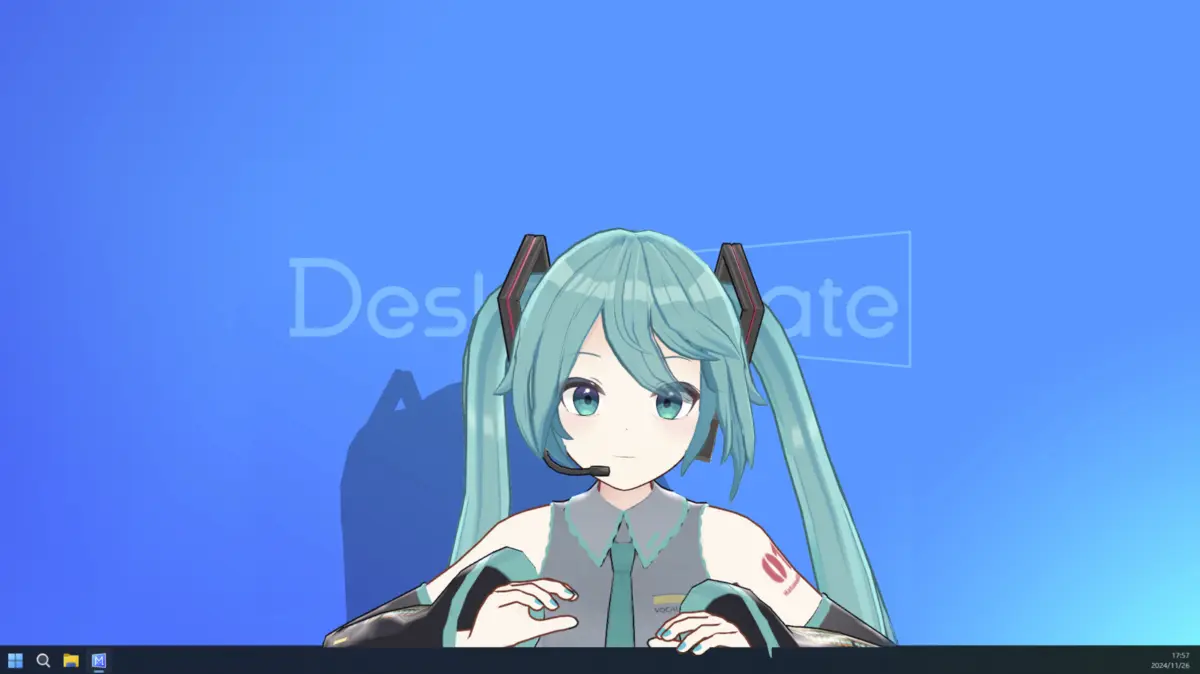
Finishing Touches for of Desktop Mate Custom Model
Once your model is exported as a .vrm file, test it with Desktop Mate or other VRM-compatible software. Congratulations—you’ve successfully created your own VRM!
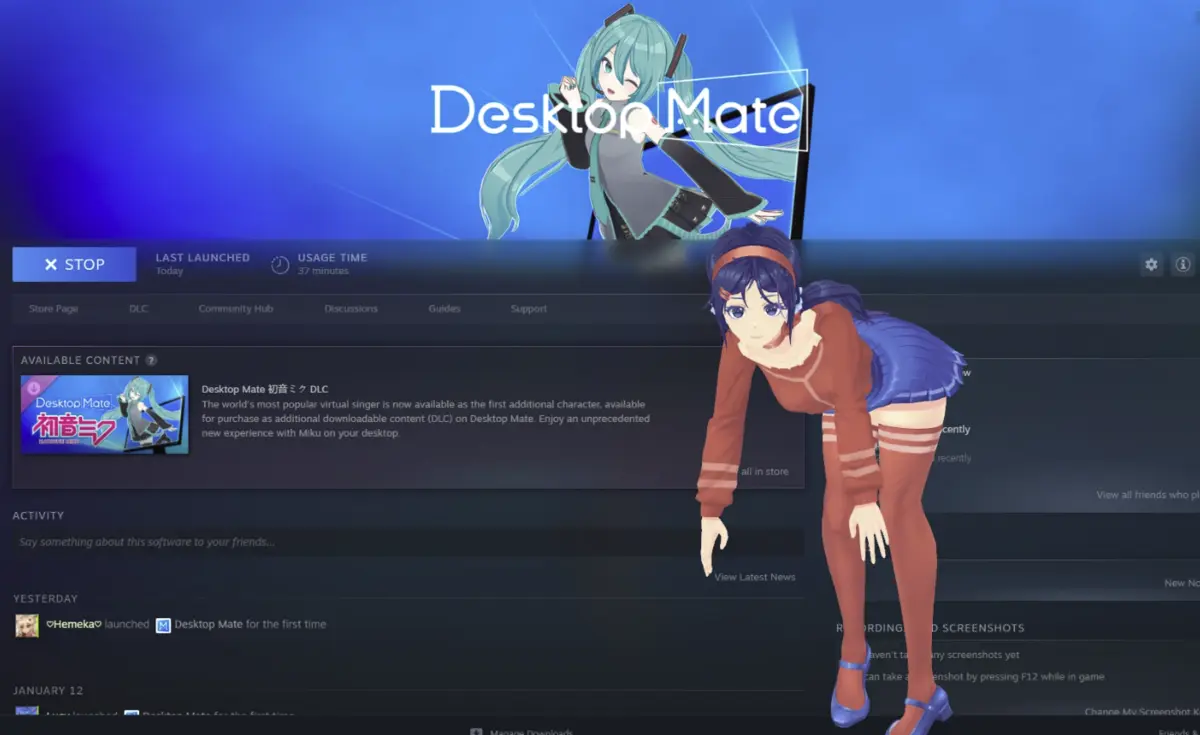
Get Your Desktop Mate Custom Model
Creating a VRM may seem complex, but with patience and the right tools, you can bring your dream desktop buddy to life. Thank you for reading, and I hope this guide helps you on your journey to making custom VRMs!


Leave a Reply